
Can You Swap Rims Yourself? Safety Risks and Legal Liability

Key Takeaways
Swapping rims yourself is physically possible for many vehicle owners, but the process carries real safety risks when done without proper equipment or knowledge. A rim that is improperly seated, torqued incorrectly, or mismatched to the vehicle can cause a catastrophic tire failure at highway speed. Understanding the steps, the limits, and when a professional should handle the job can prevent a DIY project from turning into a serious accident.
- You can swap rims at home if you have the right tools, including a floor jack, jack stands, a torque wrench, and a tire pressure gauge.
- Lug nuts must be torqued to the vehicle manufacturer’s exact specification, typically between 80 and 120 foot-pounds depending on the vehicle.
- Rim diameter, width, offset, and bolt pattern must all match the vehicle’s original specifications or fall within approved tolerances.
- Improper rim swaps can cause wheel separation, brake clearance failures, and suspension damage that may not appear until highway driving conditions.
- If a defective rim swap causes an accident, legal liability can fall on the person who performed the swap, the rim manufacturer, or both.
- Michigan law provides avenues for injured parties to pursue compensation when a vehicle modification contributes to a crash.
What a Rim Swap Actually Involves and Who Can Do It
Swapping rims yourself is achievable for a vehicle owner who has a floor jack rated for the vehicle’s weight, a set of jack stands, a lug wrench or impact wrench, and a calibrated torque wrench. The job typically takes between 30 and 90 minutes per wheel for someone with basic mechanical familiarity. Without the correct tools or a clear understanding of load ratings and fitment specs, the job moves from routine maintenance into a hazardous modification.
A rim swap involves more than pulling off one wheel and bolting on another. The replacement rim must share the same bolt pattern as the original, meaning the number of lug holes and the diameter of the circle they sit on must match exactly. Common bolt patterns include 5×114.3, 5×120, and 4×100, and these are not interchangeable. The rim’s offset, which is the distance between the wheel’s mounting face and its centerline, affects suspension geometry and brake caliper clearance. An offset that is even 10 to 15 millimeters outside the approved range can cause the tire to rub against the fender liner or the wheel bearing to wear prematurely.
Rim width also matters. Most tire manufacturers publish a minimum and maximum rim width for each tire size. Mounting a tire on a rim that is too narrow causes the tire sidewall to bulge inward, reducing cornering stability. A rim that is too wide stretches the sidewall, increasing the risk of a blowout under load. These specifications are printed on the tire sidewall and available through the Tire and Rim Association standards.
Hanflik Law has worked with accident victims whose crashes traced back to improper vehicle modifications, including wheel fitment errors that caused catastrophic tire failures. Understanding what can go wrong during a rim swap is the first step in knowing when a DIY approach is reasonable and when it creates genuine danger for everyone on the road.
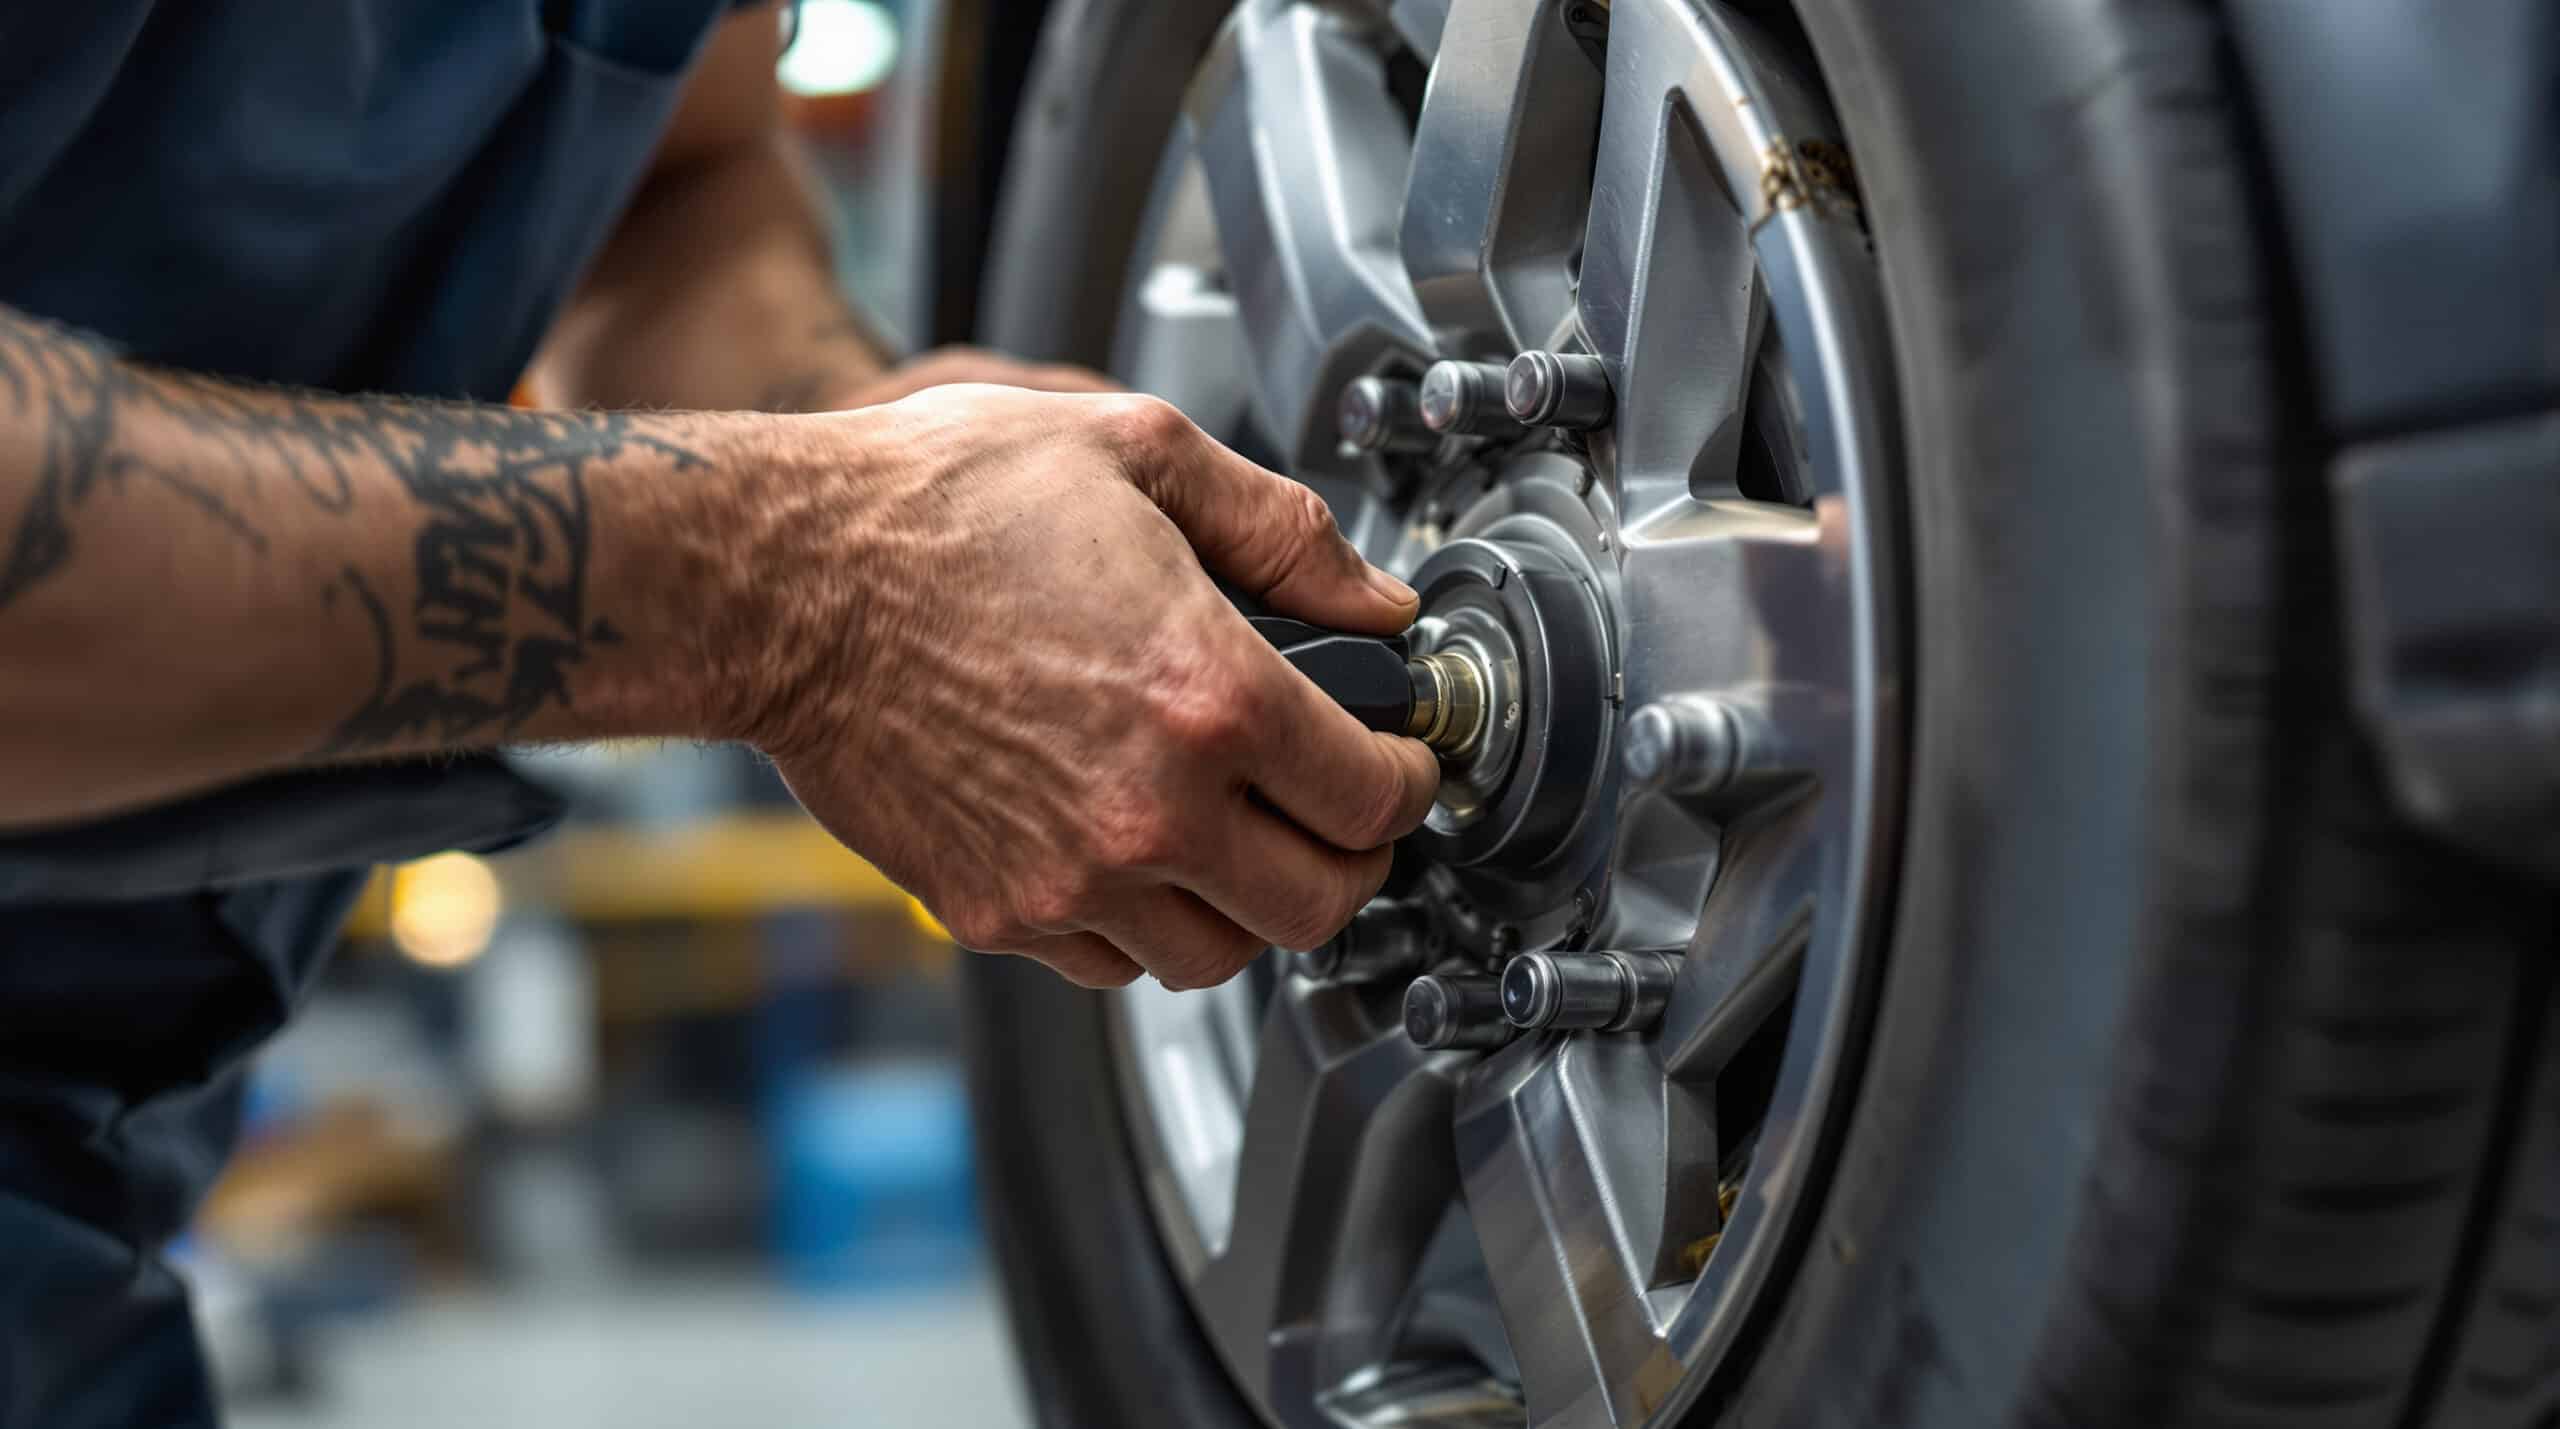
Step-by-Step Process for Swapping Rims at Home
A safe rim swap at home follows a specific sequence that protects both the vehicle and the person performing the work. Skipping any step, particularly the torque verification stage, is where most amateur installations go wrong.
What tools do you actually need to swap rims safely?
The minimum tool set includes a hydraulic floor jack with a capacity at least equal to half the vehicle’s curb weight, two to four jack stands rated to the same capacity, a breaker bar or impact wrench for initial lug nut removal, a calibrated click-type torque wrench accurate to plus or minus 4 percent, and a tire pressure gauge. A rubber mallet helps seat stubborn wheels without damaging the finish. Anti-seize compound applied to the hub face prevents the rim from corroding onto the hub over time, which makes future removal safer and easier.
How do you lift and stabilize the vehicle correctly?
The vehicle must be parked on a flat, solid concrete surface. Lifting on asphalt, gravel, or uneven ground creates instability that can cause the vehicle to shift off the jack during the swap. Locate the factory jack points, which are marked in the owner’s manual, and place the floor jack there. Never work under a vehicle supported only by a floor jack. Once the vehicle is raised to the correct height, place jack stands under the frame rails before removing any wheels. Lower the vehicle onto the stands slowly and confirm that it sits stable before proceeding.
What is the correct sequence for installing and torquing lug nuts?
Install lug nuts by hand first, threading each one several turns before applying any tool. Then snug them in a star or cross pattern, which distributes load evenly across the wheel flange. Once all lug nuts are snug, use the torque wrench set to the vehicle manufacturer’s specification. Torque specs range from approximately 65 foot-pounds on small economy vehicles to 140 foot-pounds on full-size trucks. Apply torque in the same star pattern, then re-check each nut a second time. After driving 25 to 50 miles, re-torque the lug nuts because the wheel seats slightly during initial use and the clamping force can drop by as much as 15 percent. For additional guidance on vehicle safety, consult the National Highway Traffic Safety Administration.
Rim Fitment Specifications and How to Verify Them
Matching the replacement rim to the vehicle’s specifications is the single most important part of a rim swap. A wheel that looks correct and bolts on without resistance can still be dangerously wrong if key measurements fall outside tolerance.
How do you find the correct bolt pattern for your vehicle?
The bolt pattern is stamped or labeled on many factory rims, but the most reliable source is the vehicle’s owner’s manual or the manufacturer’s wheel fitment guide available through the National Highway Traffic Safety Administration’s vehicle specifications database. A bolt pattern gauge, available for under $15 at most auto parts stores, physically measures the pattern directly from any existing wheel. Measuring manually is also straightforward: for a 5-lug wheel, measure from the center of one lug hole to the outer edge of the hole directly across from it. This gives the pitch circle diameter in millimeters.
What is wheel offset and why does it matter for safety?
Offset is measured in millimeters and labeled as ET followed by a number. A positive offset, such as ET40, means the mounting face is toward the outside of the wheel, which is standard for most front-wheel-drive cars. A negative offset pushes the wheel outward from the hub, which is common on trucks and some SUVs. Running a rim with significantly different offset than the factory specification can move the tire’s contact patch laterally, changing steering geometry in ways that are not always immediately noticeable but that affect vehicle stability at speed. The owner’s manual or a professional fitment guide will list the acceptable offset range, which is usually within plus or minus 5 to 10 millimeters of the factory figure.
Does rim width affect tire pressure and load rating?
Yes. When a tire is mounted on a rim at the wider end of its approved range, the sidewall becomes shorter in cross-section height, which changes the effective load rating and the inflation pressure needed to maintain the correct load index. The tire’s placard inflation pressure, listed on the driver’s door jamb sticker, is calibrated for a specific rim width range. Deviating from that range means the placard pressure may no longer be accurate. Always cross-reference the tire manufacturer’s rim width chart when using non-standard rims and adjust inflation to match. Information on tire safety standards is available from the tire code standards documentation.
Common Mistakes That Turn a Rim Swap Into a Crash Risk
Most rim swap accidents do not happen immediately. The failure often develops over miles of driving as a loose lug nut works free, an incompatible offset wears a wheel bearing, or a rim that was not fully seated shifts under cornering forces. Recognizing the most common errors helps prevent them.
What happens when lug nuts are under-torqued or over-torqued?
Under-torqued lug nuts allow the wheel to shift slightly with every revolution. That micro-movement elongates the lug holes over time, eventually causing wheel separation. A wheel that separates at highway speed becomes a projectile capable of crossing lanes and striking other vehicles. Over-torquing stretches the wheel studs beyond their yield point, which weakens them permanently. A stud that has been over-torqued may not fail immediately, but it becomes vulnerable to breaking under normal braking and cornering stress. Using an impact wrench without a torque stick or follow-up torque wrench check is a leading cause of both conditions.
Can an incompatible rim center bore cause vibration or failure?
Center bore is the diameter of the hole in the center of the wheel that slides over the hub. Factory rims are hub-centric, meaning the center bore matches the hub diameter precisely and the hub carries a portion of the vehicle’s weight. Aftermarket rims often use a larger universal center bore with plastic hub-centric rings to fill the gap. If those